.png?height=120&name=rockcontent-branco%20(1).png)
The Settings page allows you to control global settings for your platform.
Where
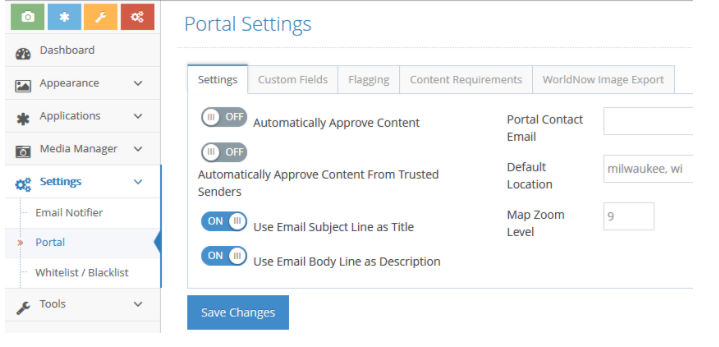
Settings > Portal > Settings
How To
Once you've made the necessary changes, click the "Save" button at the bottom of the page.
- Automatically approve uploaded content. Check this box to allow all user-uploaded images and videos to bypass the content-moderation queue and go directly to the live website.
- Automatically approve uploaded content by trusted senders. Check this box to allow all images/videos uploaded by "trusted senders" to bypass the content-moderation queue and go directly to the live website. (Go to the Users section to designate individual users as trusted senders. Note that even if you have designated trusted senders, you must still activate the auto-approve feature here in the Settings section.)
- Parse email subject line as title. Check this box to automatically make the subject line of a mobile phone or e-mail submission become the title of the image or video. Before posting, this text is run through our keyword filter to remove profanity.
- Parse email body as description. Check this box to automatically make the body text of a mobile phone or e-mail submission become the description of the image or video. Before posting, this text is run through our keyword filter to remove profanity.
- Portal contact e-mail. The e-mail address entered here will receive messages submitted by users through the “Contact Us” page.
- Default location. If desired, input an address (or just city and state) as a default location for the geo-tagging feature on the media-item view page. If a user uploading an item doesn't specify a location, the default location will appear.
- Map Zoom Level. Level at which the map will show zoomed.