.png?height=120&name=rockcontent-branco%20(1).png)
When a commenter’s status is set to auto-approved, all comments from that user will automatically appear in a Live stream’s feed. Removing a commenter’s auto-approved status will send the user's comments to the Moderation Hub.
Navigation
Dashboard > Any Live Stream > Users > Invite
Permission
Administrator | Developer | Editor | Moderator
How to Auto-Approve a Commenter in the Content Studio
When a comment comes in from an audience member you would like to auto-approve, click the Options icon underneath the comment.
Select Auto-Approve from the Options Menu. All future comments from this user will appear automatically in the stream.
How to Remove Auto-Approved Status from a Commenter
(Content Studio)
There are two places you can go to remove the auto-approved status from a commenter:
- The Options menu for an individual comment
- The Users section of your stream's Invite Page
The options menu for an individual comment
1. Click the Options icon underneath a comment submitted by the approved user.
2. Select Remove Auto-Approve to change this user's status. All future comments from this user will appear in the Moderation Hub. 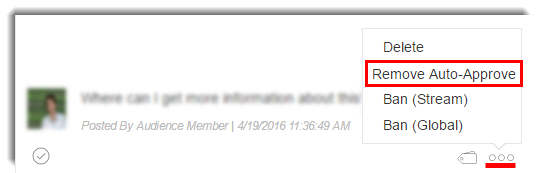
Users section of your stream's Invite Page
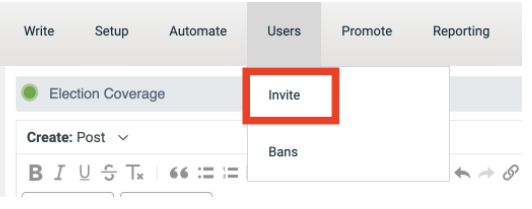
1. Click on Users > Invite in the left sidebar, to go to your stream’s Invite page.
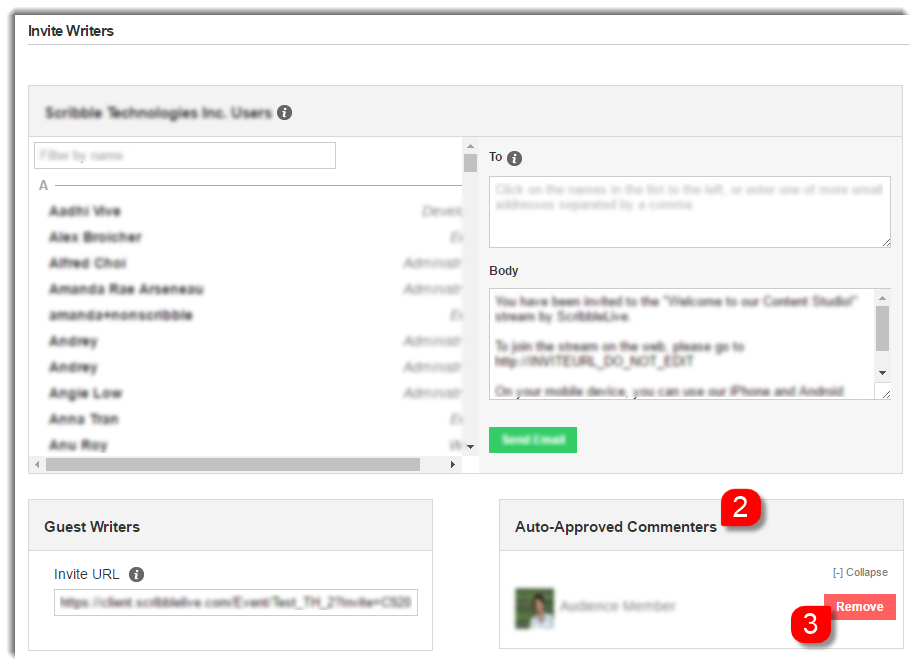
2. Scroll down to the Auto-Approved Commenters module.
3. Click on the Remove button beside the username of the commenter you wish to remove from the list of auto-approved commenters. All future comments from this user will appear in the Moderation Hub.